In a previous post I showed what I think being a palaeontologist is all about, especially the point that palaeontologists are different from oryctologists. The first ones study changes of biodiversity through time, the second ones extract fossils (but again, both are far from exclusive).
Here is a short summary of experience working at Upper Cretaceous excavation sites in the South of France (that’s around 80-65 million years old) namely in the Bellevue excavation site in Esperaza run by the Musée des Dinosaures.
First step is to find a place to dig.
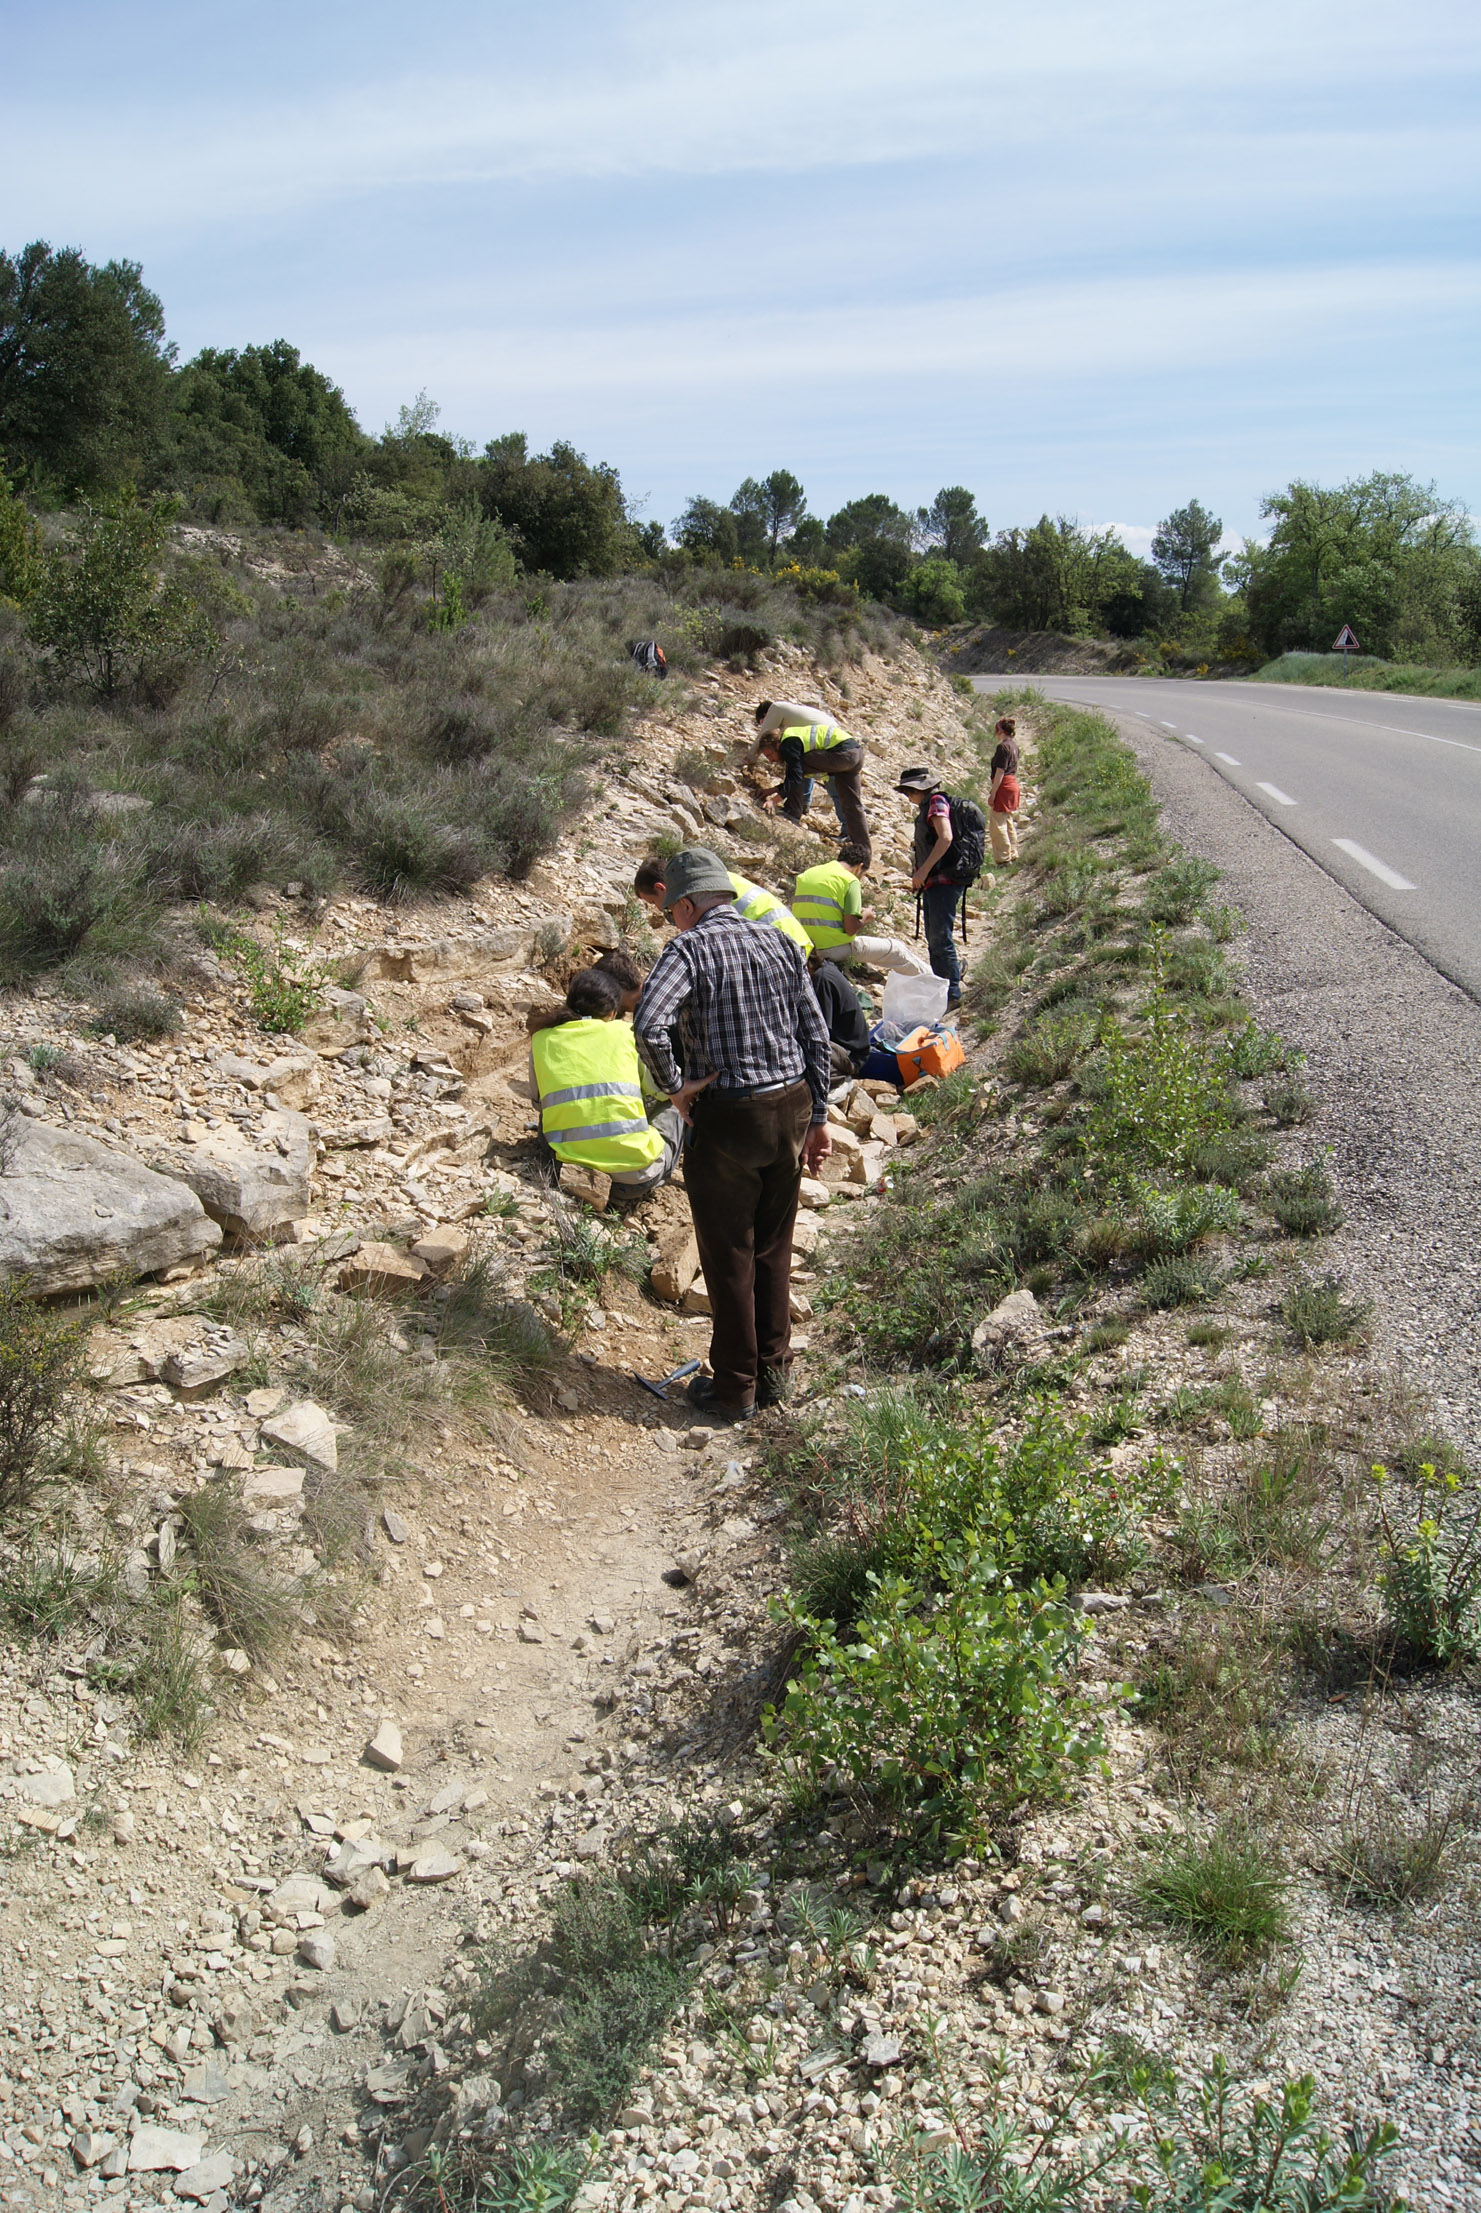
Why along the road? It doesn’t have to be but it has two clear advantages: you can park your car next to it and it’s usually rich in fresh outcrops of rock (where you can find more fossils than in a crop field!).
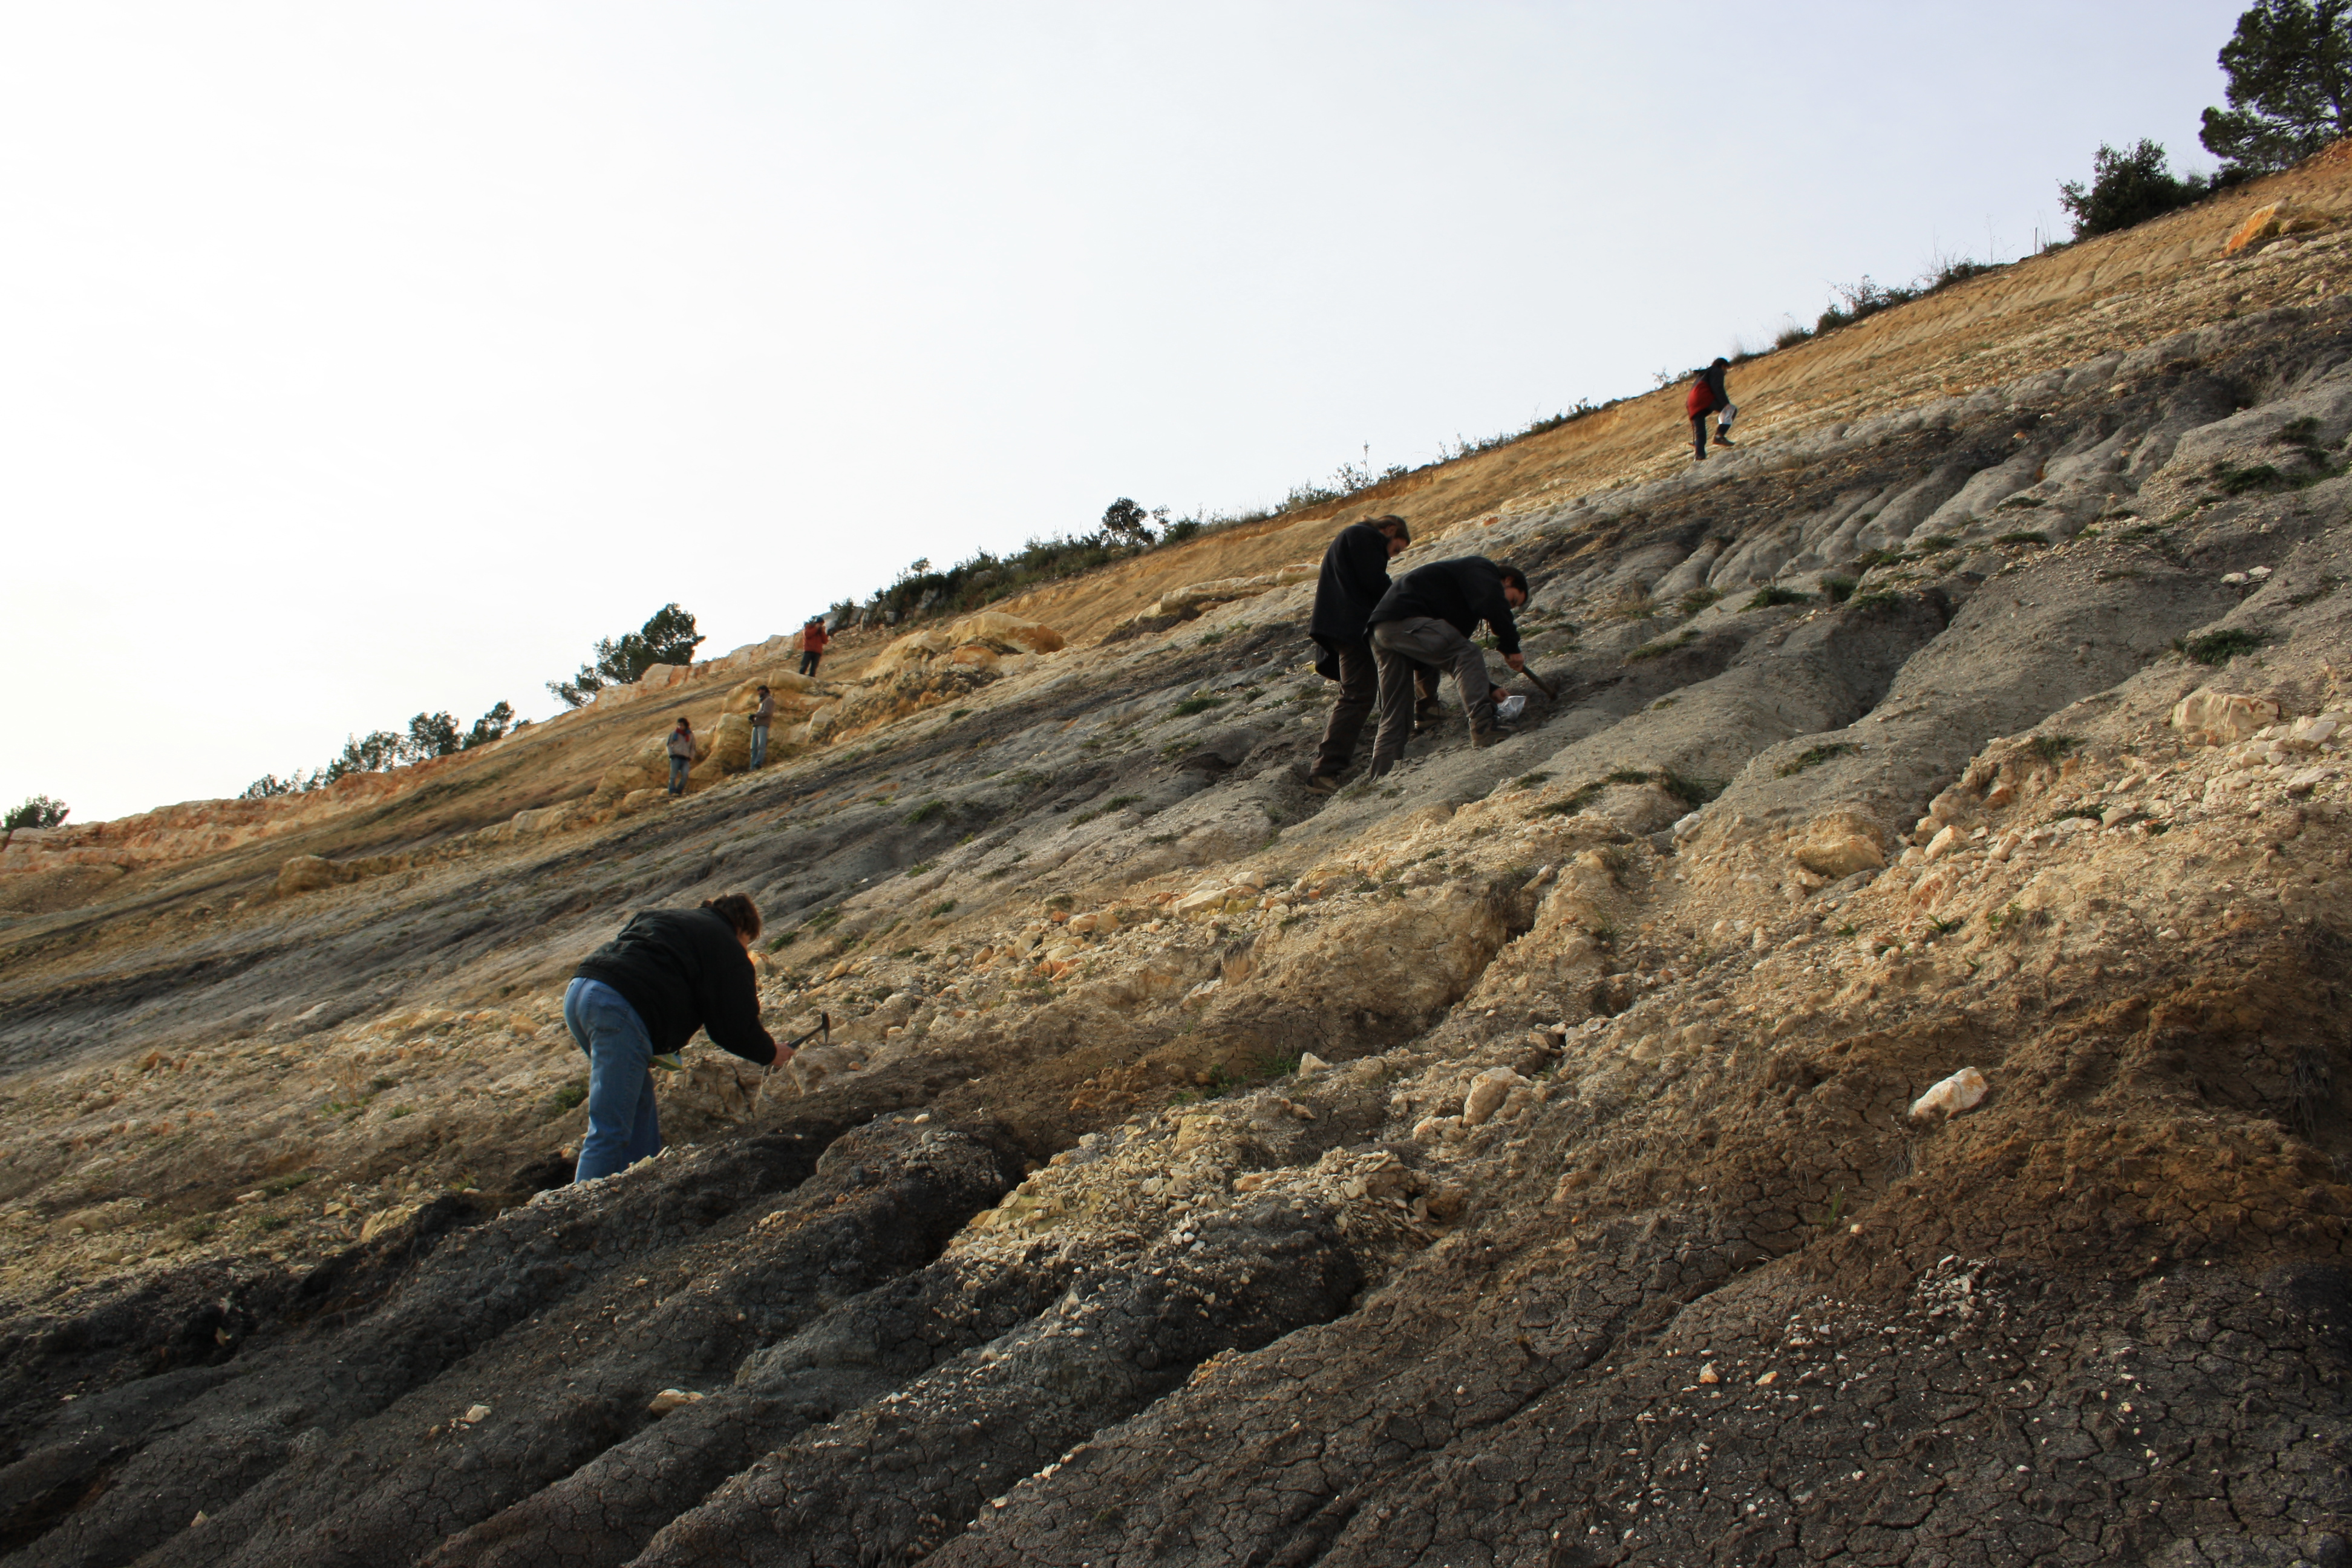
The second step, once you’ve decided that there might be something in the outcrop you’ve just explored, is to remove all the “annoying stuff”. To palaeontologists that obviously means all the wonderful fauna and flora and their associated environment (usually soil) that are growing above the potential fossiliferous site (how rude of them!).
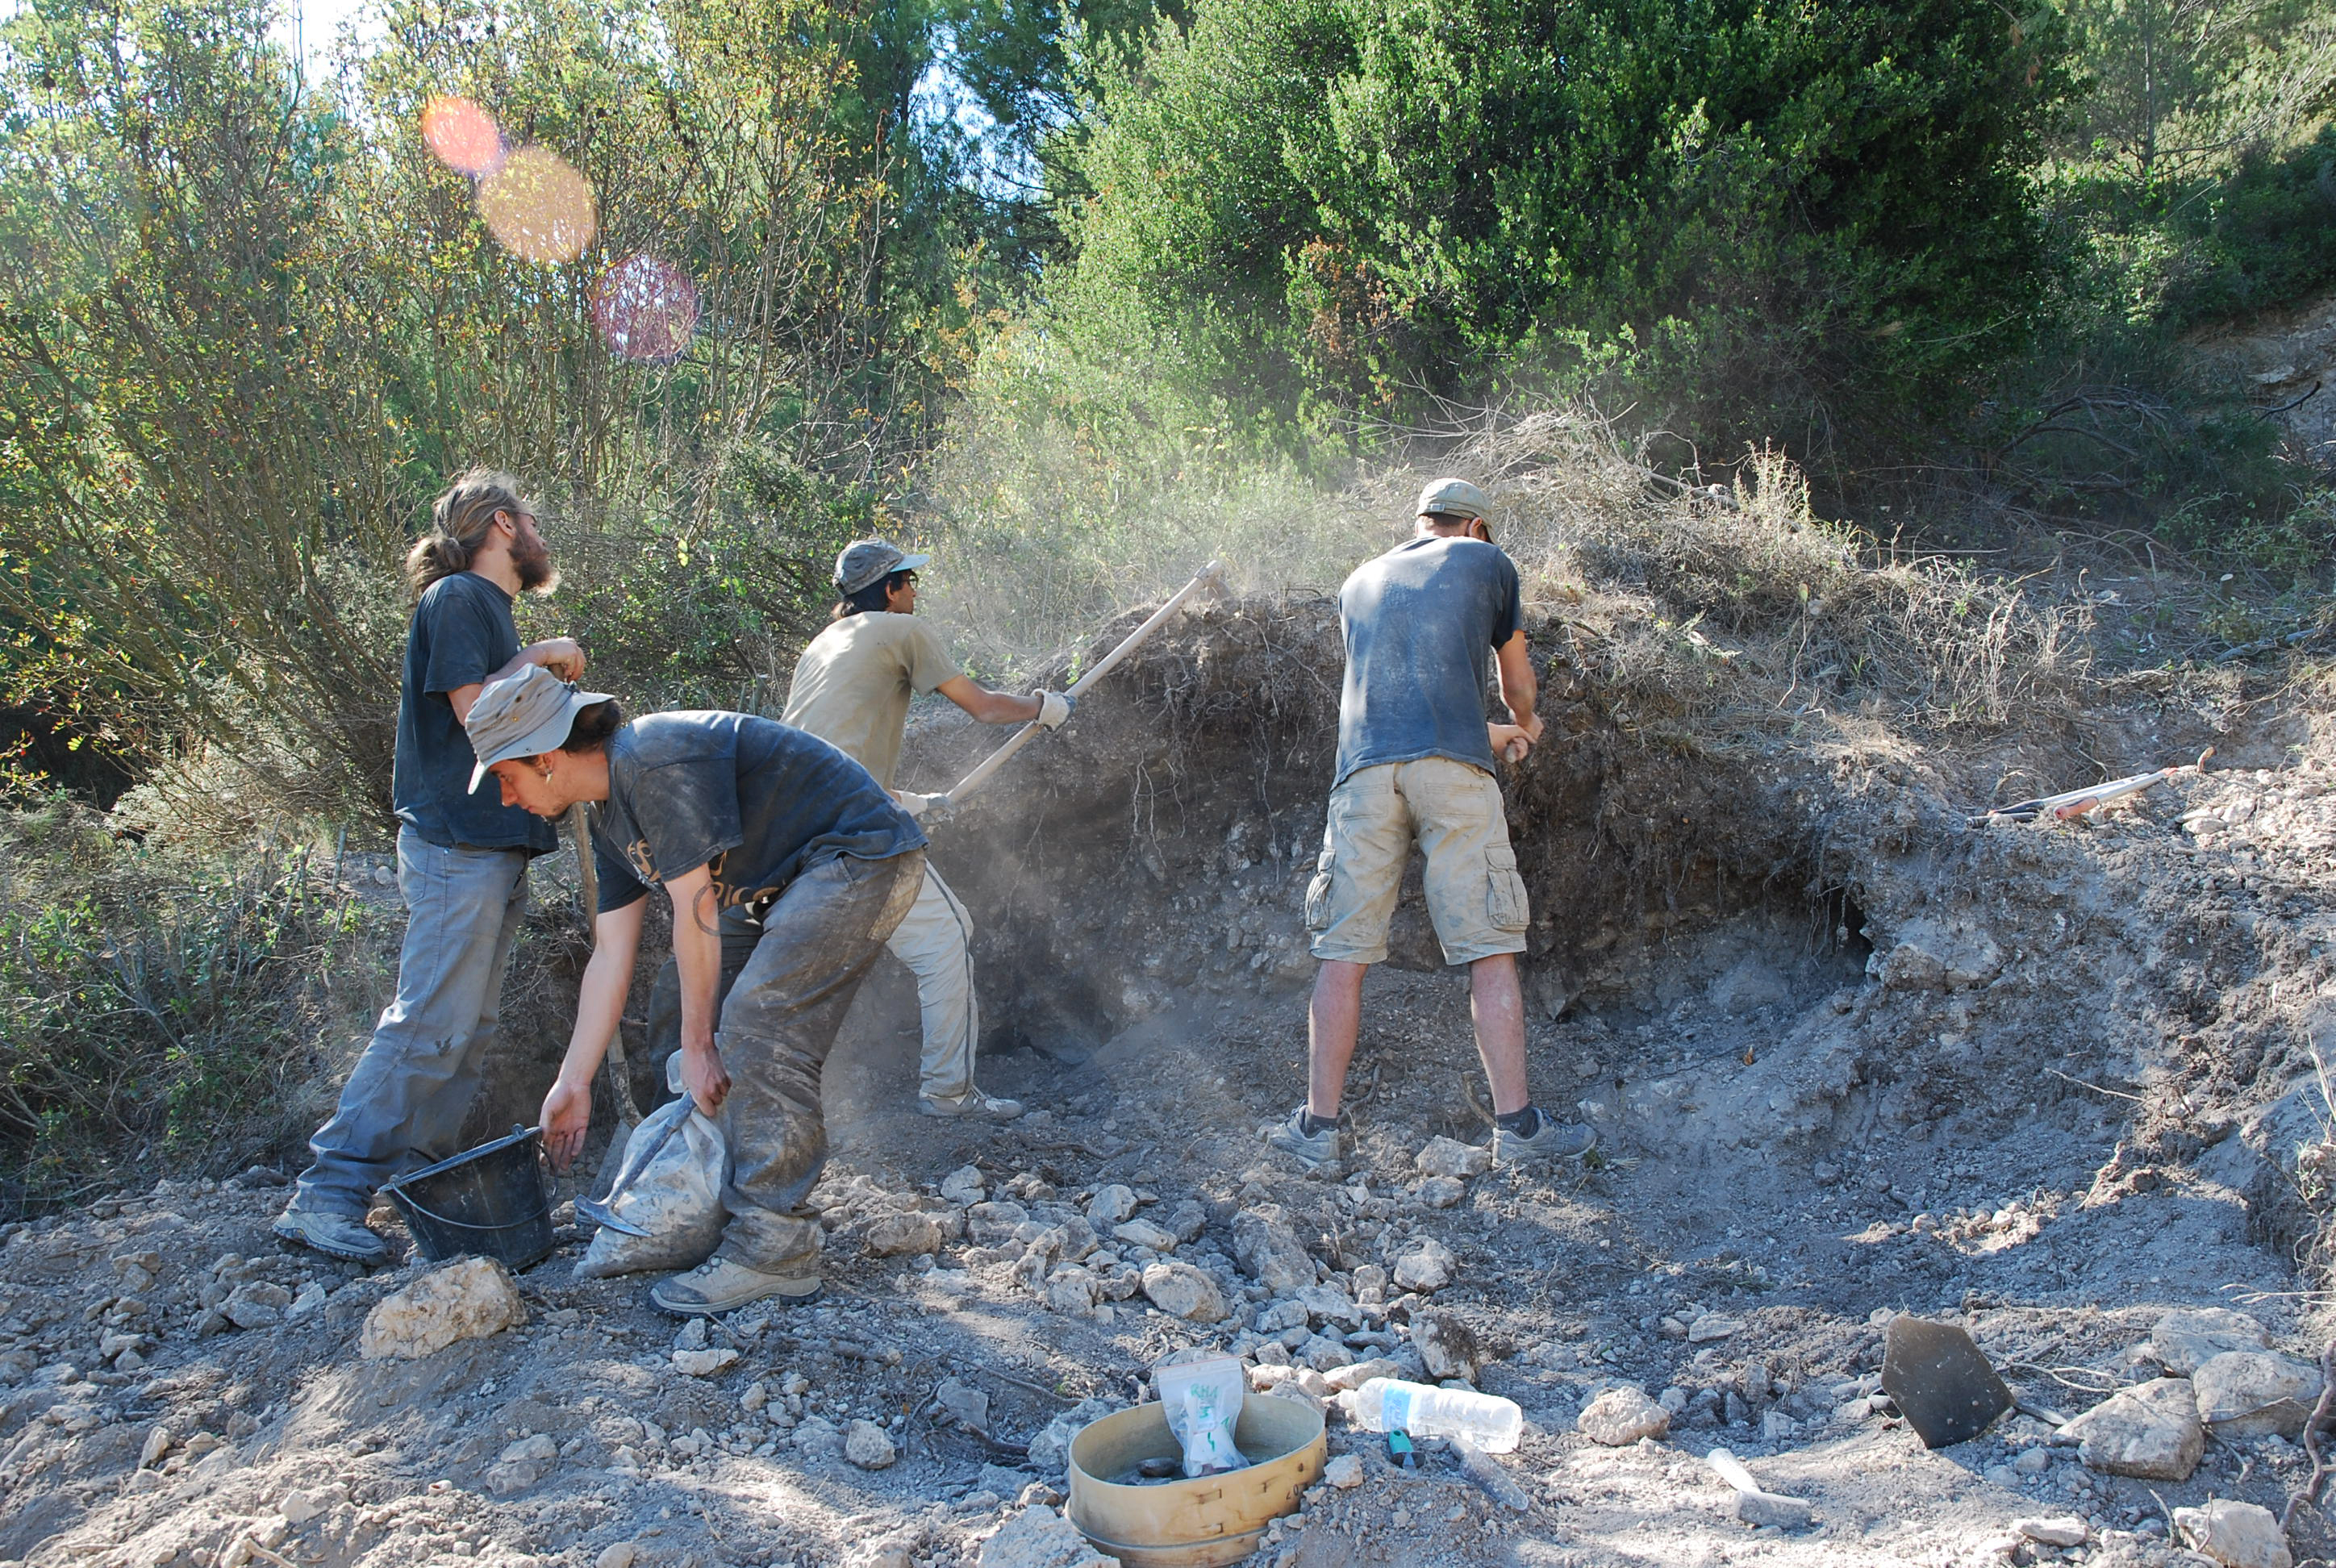
Once you’ve removed the layer of living stuff, you can start the long and interesting part: hitting rocks with a hammer and a pike during the hottest days of summer.

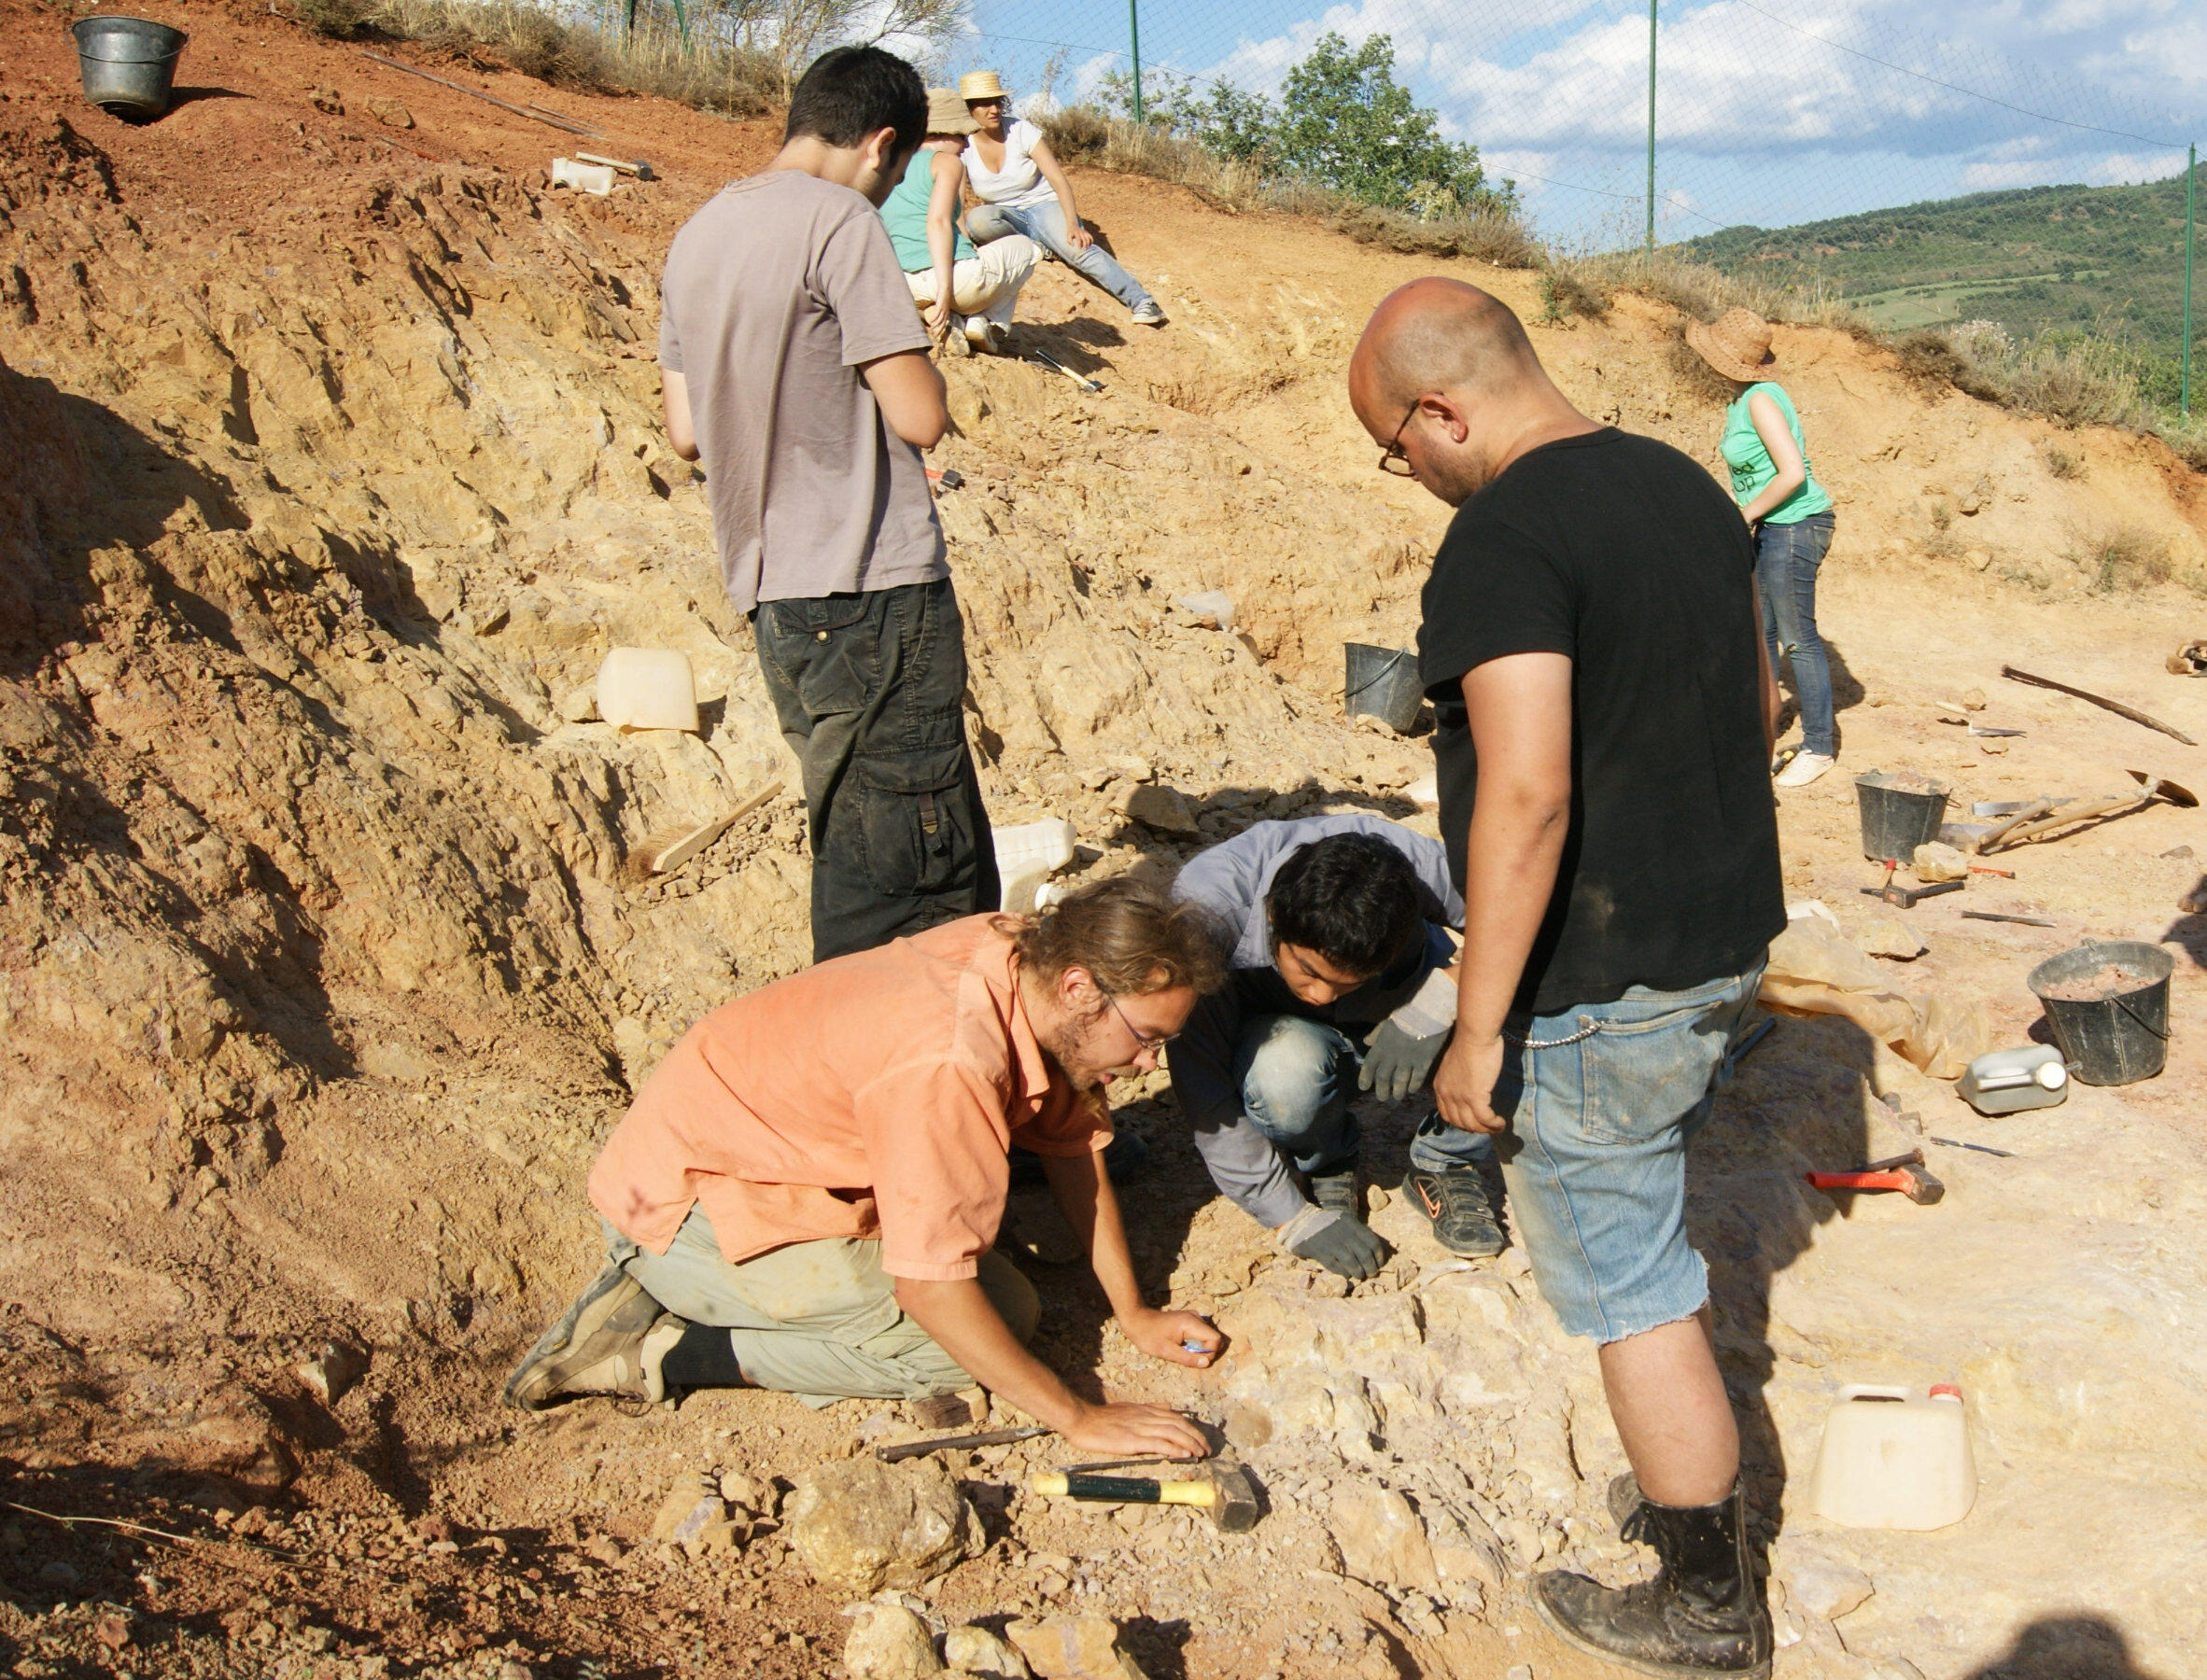
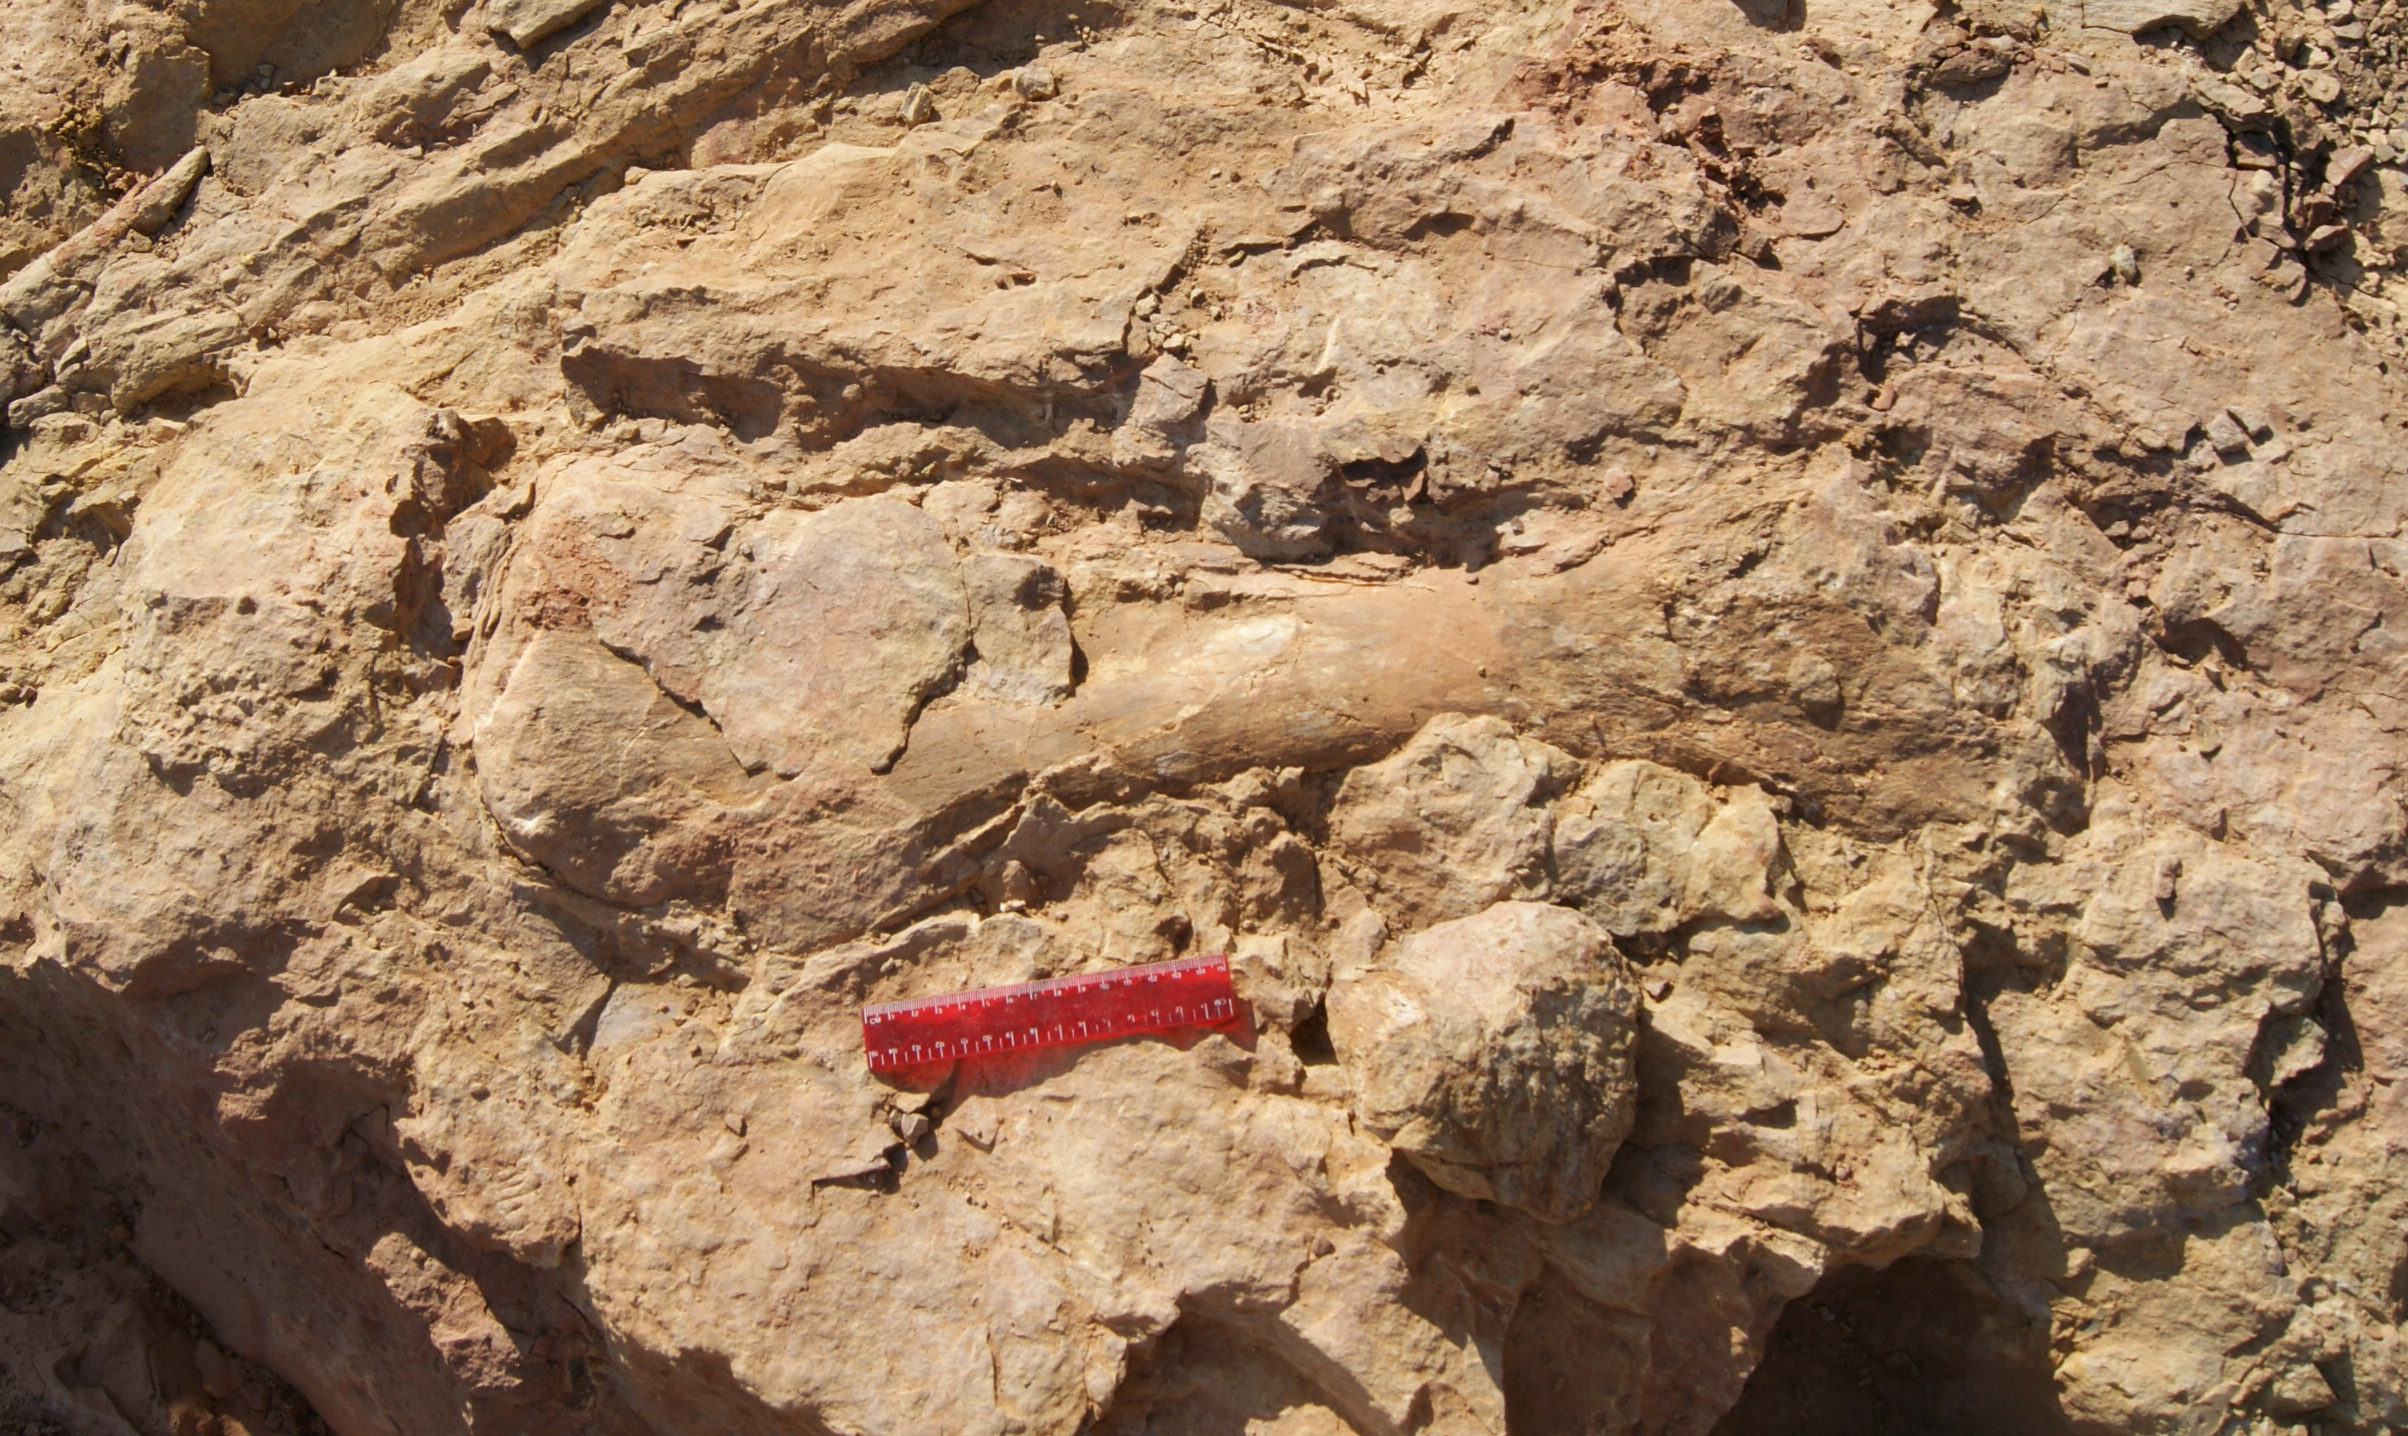
Finally, with a bit (a huge bit) of luck, you’ll find a fossil that was worth all this hassle.
Once you’ve found the fossil, the first step is to clean the surface facing you and start to build a trench around it in order to pour plaster over it and bring it to the lab. As you can see, paint brushes are useless here too: the hammer and the pike make ideal tools for the surrounding trench and an oyster knife and a smaller hammer do the cleaning jobs. Oh yeah, and a tube of glue. After around 80 million years, the bones get a bit fragile.
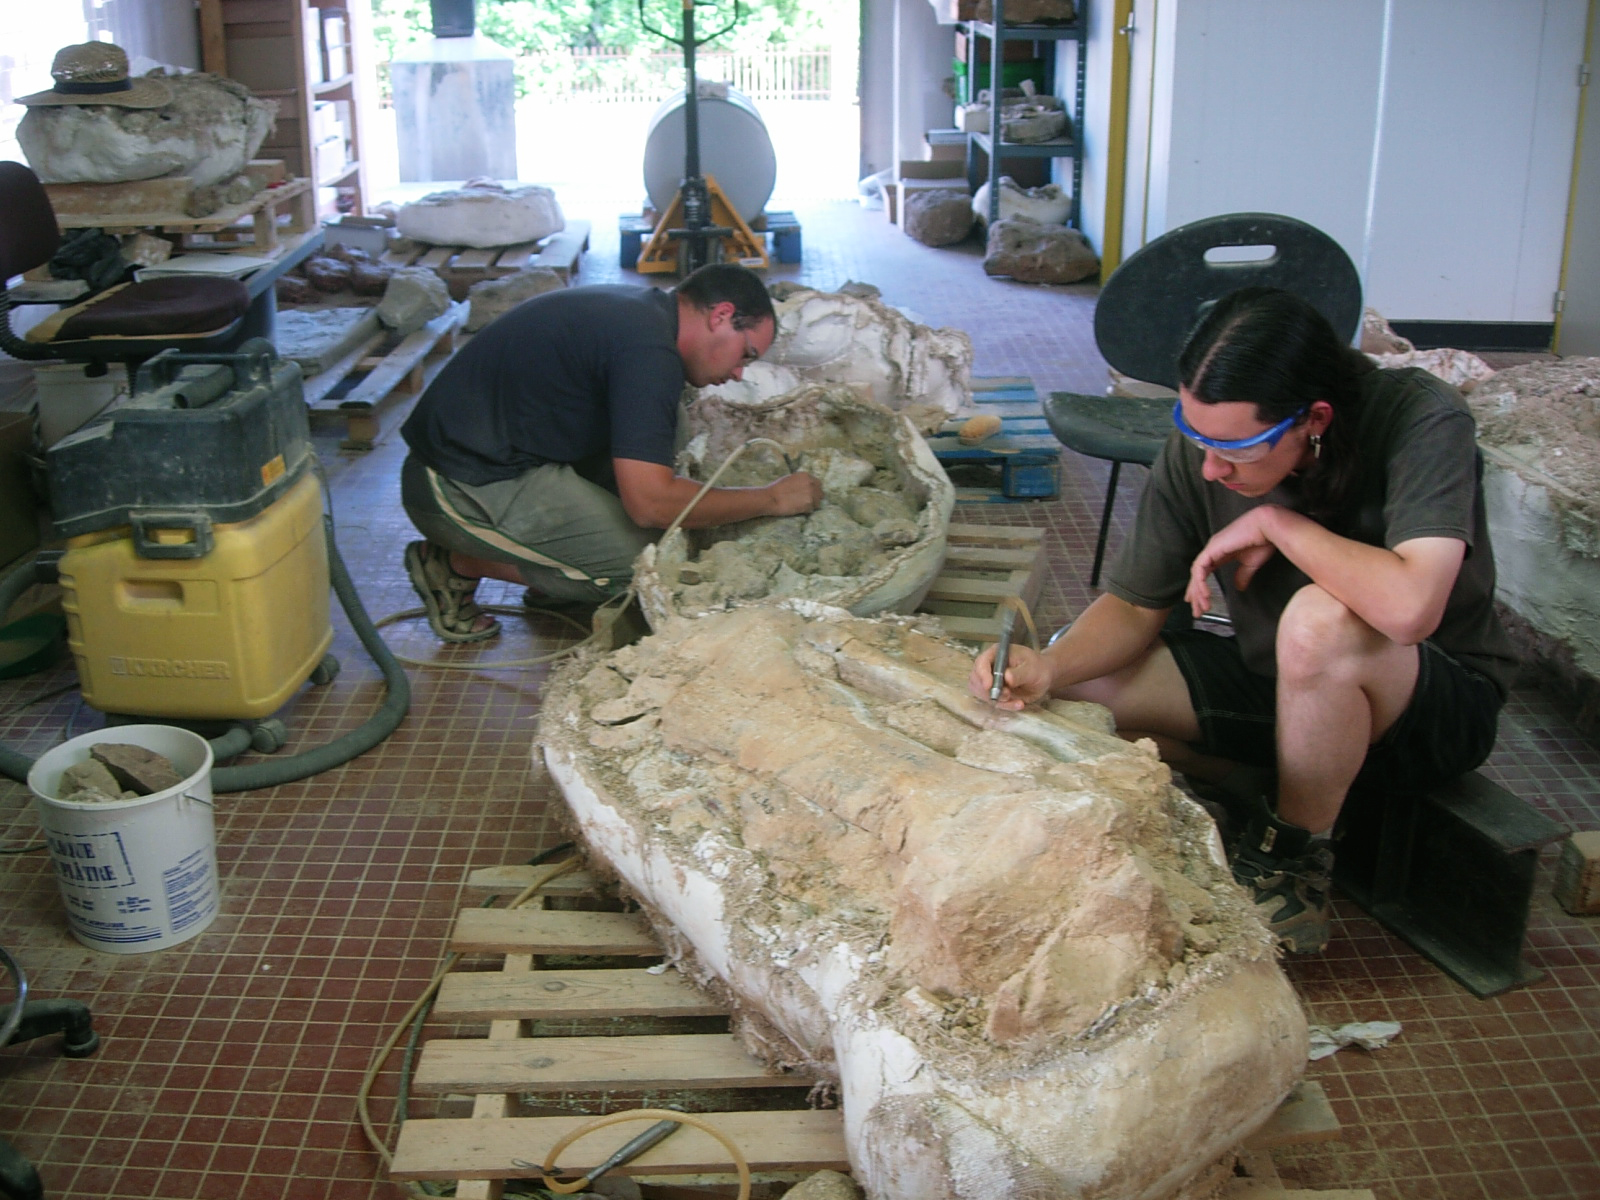
The last step is to properly clean the fossil in the lab by removing it from all the surrounding rock. The best tools are mini pneumatic-drills and loads of patience. When all that is done, the palaeontologist can start to work on the fossil.
You can find more impressive pictures on the Musée des Dinosaures webpage.
Author: Thomas Guillerme, guillert[at]tcd.ie, @TGuillerme
Images: Thomas Guillerme and Sébastien Enault (with the kind authorisation of Jean Le Loeuff). Feature image: http://www.libraryofbirmingham.com/